
算力平台:
Kandinsky
[[open-in-colab]]
Kandinsky 模型是一系列多语言文本到图像生成模型。Kandinsky 2.0 模型使用两个多语言文本编码器并将这些结果连接起来用于 UNet。
Kandinsky 2.1 改变了架构,增加了图像先验模型(CLIP)以生成文本和图像嵌入之间的映射。该映射提供了更好的文本-图像对齐,并在训练期间与文本嵌入一起使用,从而生成更高质量的结果。最后,Kandinsky 2.1 使用了 Modulating Quantized Vectors (MoVQ) 解码器——该解码器增加了一个空间条件归一化层以提高照片真实感——将潜在变量解码为图像。
Kandinsky 2.2 通过用更大的 CLIP-ViT-G 模型替换图像先验模型的图像编码器来改进前一个模型,以提高质量。图像先验模型还重新训练了不同分辨率和宽高比的图像,以生成更高分辨率的图像和不同的图像尺寸。
Kandinsky 3 简化了架构,并从涉及先验模型和扩散模型的两阶段生成过程转向。相反,Kandinsky 3 使用 Flan-UL2 编码文本,使用带有 BigGan-deep 块的 UNet,以及 Sber-MoVQGAN 将潜在变量解码为图像。文本理解和生成图像的质量主要通过使用更大的文本编码器和 UNet 来实现。
本指南将向你展示如何使用 Kandinsky 模型进行文本到图像、图像到图像、修复、插值等操作。
在开始之前,请确保你已安装以下库:
py
# uncomment to install the necessary libraries in Colab
#!pip install -q diffusers transformers accelerate
文本到图像
要使用 Kandinsky 模型执行任何任务,你总是从设置先验管道开始,以编码提示并生成图像嵌入。先验管道还会生成与负提示 "" 对应的 negative_image_embeds。为了获得更好的结果,你可以向先验管道传递一个实际的 negative_prompt,但这会将先验管道的有效批量大小增加一倍。
🤗 Diffusers 还提供了端到端的 API,包括 [KandinskyCombinedPipeline] 和 [KandinskyV22CombinedPipeline],这意味着你不必分别加载先验模型和文本到图像管道。组合管道会自动加载先验模型和解码器。如果你愿意,仍然可以使用 prior_guidance_scale 和 prior_num_inference_steps 参数为先验管道设置不同的值。
使用 [AutoPipelineForText2Image] 可以在内部自动调用组合管道:
图像到图像
对于图像到图像,传递初始图像和文本提示以条件化图像到管道。首先加载先验管道:
下载一张图片以供条件使用:
py
from diffusers.utils import load_image

# download image
url = "https://raw.githubusercontent.com/CompVis/stable-diffusion/main/assets/stable-samples/img2img/sketch-mountains-input.jpg"
original_image = load_image(url)
original_image = original_image.resize((768, 512))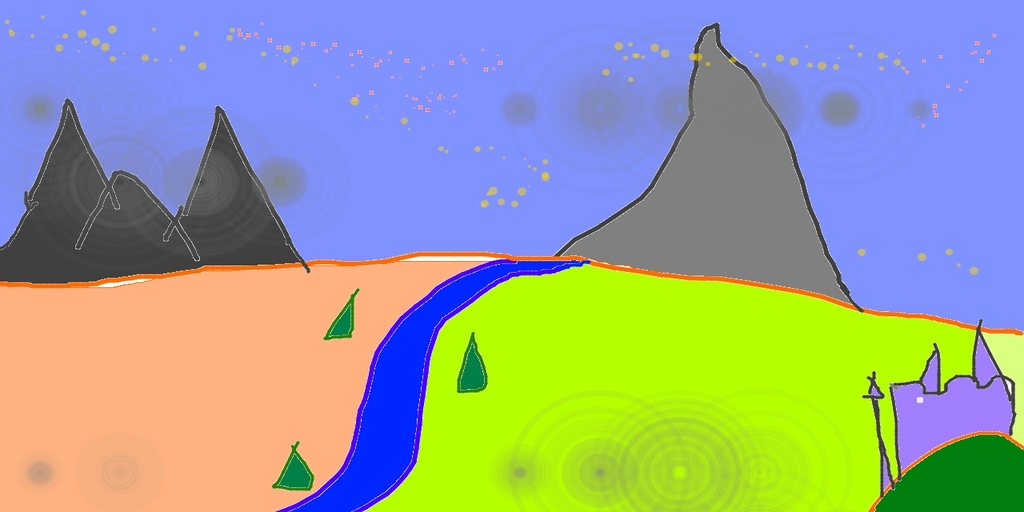
使用先验管道生成 image_embeds 和 negative_image_embeds:
py
prompt = "A fantasy landscape, Cinematic lighting"
negative_prompt = "low quality, bad quality"

image_embeds, negative_image_embeds = prior_pipeline(prompt, negative_prompt).to_tuple()
现在将原始图像、所有提示和嵌入传递给管道以生成图像:
🤗 Diffusers 还提供了端到端的 API,包括 [KandinskyImg2ImgCombinedPipeline] 和 [KandinskyV22Img2ImgCombinedPipeline],这意味着你不必分别加载先验模型和图像到图像的管道。组合管道会自动加载先验模型和解码器。如果你愿意,仍然可以使用 prior_guidance_scale 和 prior_num_inference_steps 参数为先验管道设置不同的值。
使用 [AutoPipelineForImage2Image] 可以在内部自动调用组合管道:
图像修复
图像修复是一种技术,用于移除图像中的特定区域或对象,同时保持图像的自然外观。这项技术在照片编辑、视频处理和数字艺术中非常有用。通过图像修复,你可以轻松地删除不需要的元素,如电线、标志或人物,而不会影响图像的整体质量。
使用图像修复
- 选择区域:首先,你需要选择要移除的区域。可以使用各种工具,如矩形选择工具、套索工具或画笔工具。
- 应用修复:选择区域后,应用图像修复算法。这通常可以通过软件中的一个按钮或菜单选项来完成。
- 调整参数:根据需要调整修复参数,以获得最佳效果。这些参数可能包括修复区域的大小、修复方法和迭代次数。
- 预览和保存:预览修复后的图像,确保结果满意。如果需要,可以进行进一步的调整。最后,保存修复后的图像。
常见问题
- 修复效果不自然:如果修复后的区域看起来不自然,可以尝试调整修复参数或使用不同的修复工具。
- 边界不平滑:如果修复区域的边界不平滑,可以使用羽化工具或边缘平滑工具来改善效果。
- 颜色不匹配:如果修复区域的颜色与周围区域不匹配,可以使用颜色校正工具来调整颜色。
示例
假设你有一张风景照片,其中有一根电线穿过天空。你可以使用图像修复工具选择电线区域,然后应用修复算法,最终得到一张没有电线的自然风景照片。
注意事项
- 备份原始图像:在进行图像修复之前,建议备份原始图像,以防止意外修改。
- 逐步操作:复杂的图像修复可能需要多次尝试和调整,逐步操作可以帮助你更好地控制修复过程。
通过掌握图像修复技术,你可以显著提升图像的质量和视觉效果。
对于图像修复,你需要原始图像、要替换区域的掩码以及要修复内容的文本提示。加载预处理管道:
加载初始图像并创建掩码:
py
init_image = load_image("https://huggingface.co/datasets/hf-internal-testing/diffusers-images/resolve/main/kandinsky/cat.png")
mask = np.zeros((768, 768), dtype=np.float32)
# mask area above cat's head
mask[:250, 250:-250] = 1
使用预处理管道生成嵌入:
py
prompt = "a hat"
prior_output = prior_pipeline(prompt)
现在将初始图像、掩码、提示和嵌入传递给管道以生成图像:
你也可以使用端到端的 [KandinskyInpaintCombinedPipeline] 和 [KandinskyV22InpaintCombinedPipeline] 来在内部同时调用先验和解码器管道。为此,请使用 [AutoPipelineForInpainting]:
插值
插值允许你探索图像和文本嵌入之间的潜在空间,这是一种很酷的方式来查看模型的一些中间输出。加载先验管道和你想要插值的两张图像:

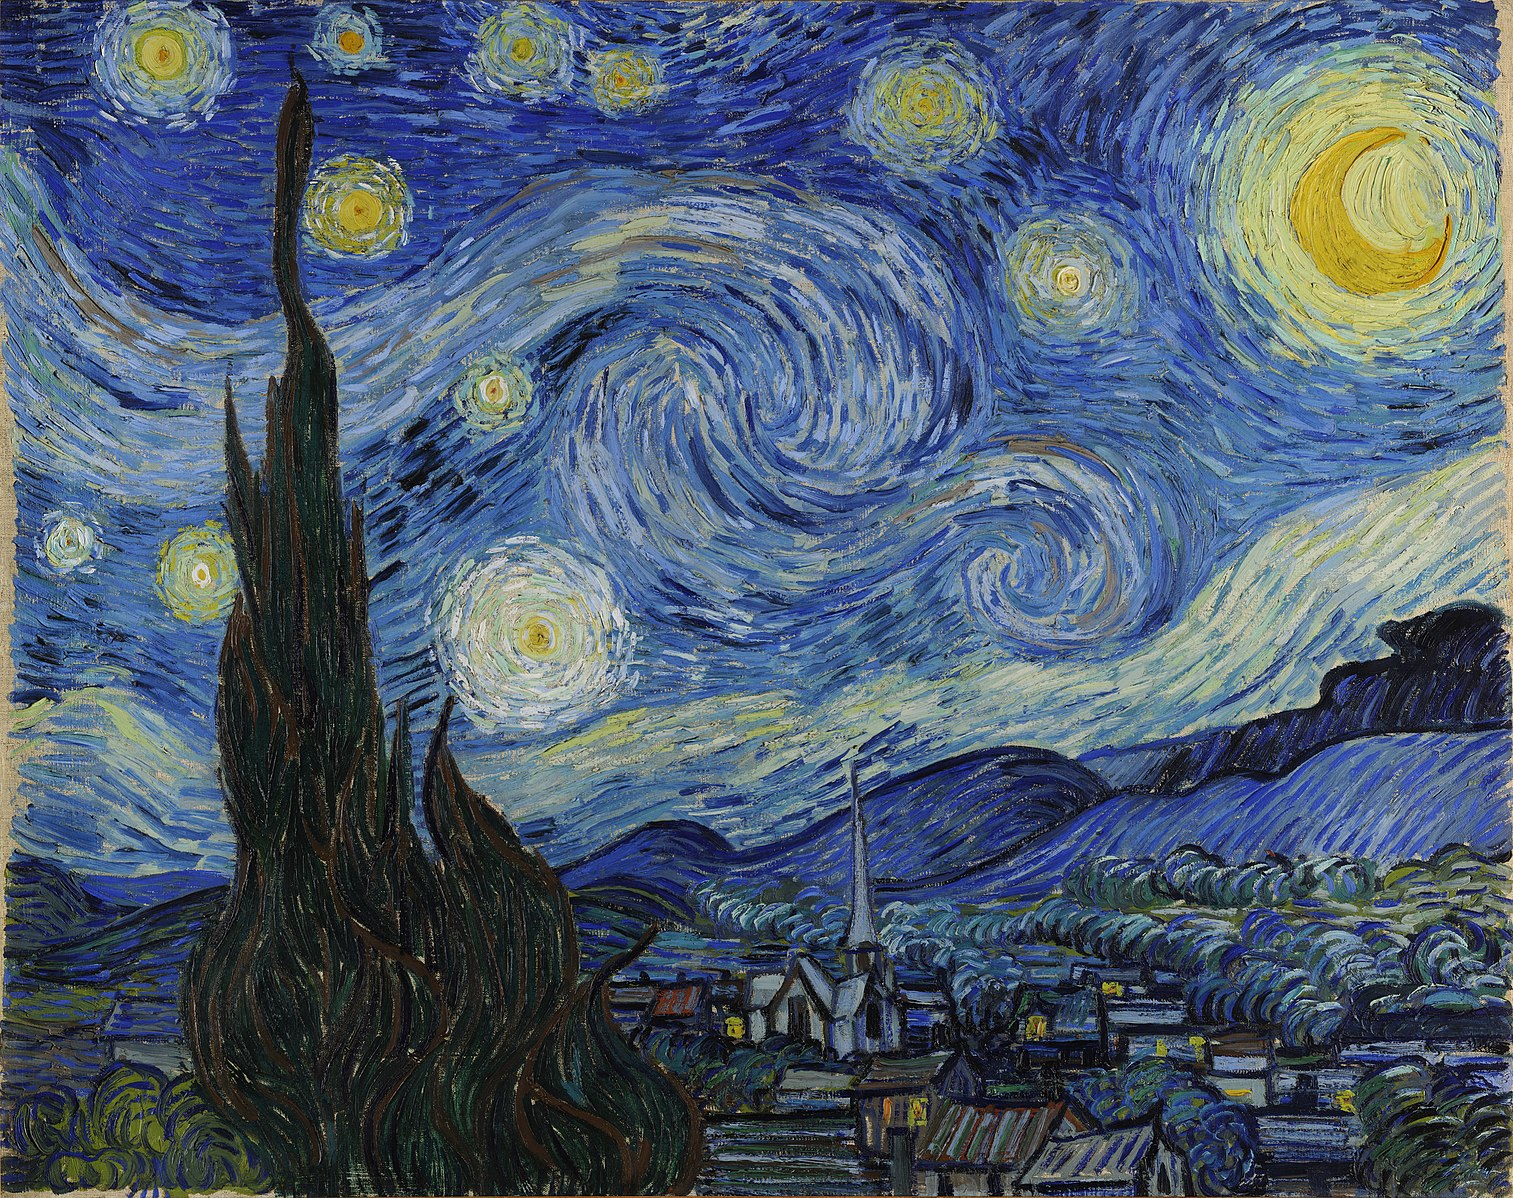
指定要插值的文本或图像,并设置每个文本或图像的权重。尝试调整权重,看看它们如何影响插值效果!
py
images_texts = ["a cat", img_1, img_2]
weights = [0.3, 0.3, 0.4]
调用 interpolate 函数生成嵌入,然后将它们传递给管道以生成图像:
ControlNet
ControlNet 使你可以用额外的输入(如深度图或边缘检测)来调节大型预训练扩散模型。例如,你可以用深度图来调节 Kandinsky 2.2,使模型能够理解和保留深度图像的结构。
让我们加载一张图像并提取其深度图:
py
from diffusers.utils import load_image

img = load_image(
    "https://huggingface.co/datasets/hf-internal-testing/diffusers-images/resolve/main/kandinskyv22/cat.png"
).resize((768, 768))
img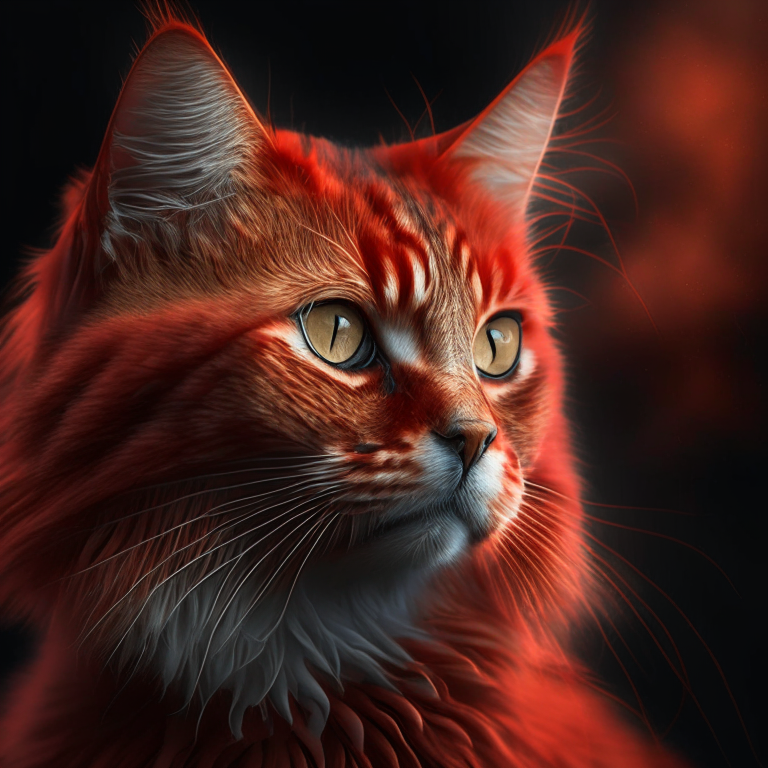
然后你可以使用 🤗 Transformers 中的 depth-estimation [~transformers.Pipeline] 来处理图像并获取深度图:
py
import torch
import numpy as np

from transformers import pipeline

def make_hint(image, depth_estimator):
    image = depth_estimator(image)["depth"]
    image = np.array(image)
    image = image[:, :, None]
    image = np.concatenate([image, image, image], axis=2)
    detected_map = torch.from_numpy(image).float() / 255.0
    hint = detected_map.permute(2, 0, 1)
    return hint

depth_estimator = pipeline("depth-estimation")
hint = make_hint(img, depth_estimator).unsqueeze(0).half().to("cuda")
文本到图像 [[controlnet-text-to-image]]
加载预处理管道和 [KandinskyV22ControlnetPipeline]:
py
from diffusers import KandinskyV22PriorPipeline, KandinskyV22ControlnetPipeline

prior_pipeline = KandinskyV22PriorPipeline.from_pretrained(
    "kandinsky-community/kandinsky-2-2-prior", torch_dtype=torch.float16, use_safetensors=True
).to("cuda")

pipeline = KandinskyV22ControlnetPipeline.from_pretrained(
    "kandinsky-community/kandinsky-2-2-controlnet-depth", torch_dtype=torch.float16
).to("cuda")
从提示和负提示生成图像嵌入:
py
prompt = "A robot, 4k photo"
negative_prior_prompt = "lowres, text, error, cropped, worst quality, low quality, jpeg artifacts, ugly, duplicate, morbid, mutilated, out of frame, extra fingers, mutated hands, poorly drawn hands, poorly drawn face, mutation, deformed, blurry, dehydrated, bad anatomy, bad proportions, extra limbs, cloned face, disfigured, gross proportions, malformed limbs, missing arms, missing legs, extra arms, extra legs, fused fingers, too many fingers, long neck, username, watermark, signature"

generator = torch.Generator(device="cuda").manual_seed(43)

image_emb, zero_image_emb = prior_pipeline(
    prompt=prompt, negative_prompt=negative_prior_prompt, generator=generator
).to_tuple()
最后,将图像嵌入和深度图像传递给 [KandinskyV22ControlnetPipeline] 以生成图像:
py
image = pipeline(image_embeds=image_emb, negative_image_embeds=zero_image_emb, hint=hint, num_inference_steps=50, generator=generator, height=768, width=768).images[0]
image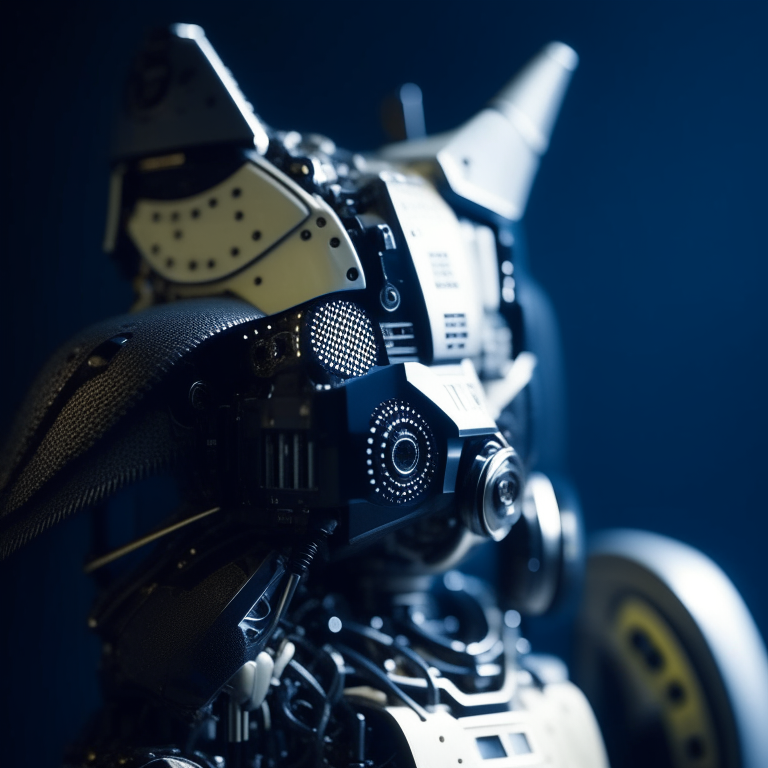
图像到图像 [[controlnet-image-to-image]]
对于使用 ControlNet 的图像到图像任务,你需要使用:
- [
KandinskyV22PriorEmb2EmbPipeline] 从文本提示和图像生成图像嵌入 - [
KandinskyV22ControlnetImg2ImgPipeline] 从初始图像和图像嵌入生成图像
使用 🤗 Transformers 中的 depth-estimation [~transformers.Pipeline] 处理并提取初始猫图像的深度图:
py
import torch
import numpy as np

from diffusers import KandinskyV22PriorEmb2EmbPipeline, KandinskyV22ControlnetImg2ImgPipeline
from diffusers.utils import load_image
from transformers import pipeline

img = load_image(
    "https://huggingface.co/datasets/hf-internal-testing/diffusers-images/resolve/main/kandinskyv22/cat.png"
).resize((768, 768))

def make_hint(image, depth_estimator):
    image = depth_estimator(image)["depth"]
    image = np.array(image)
    image = image[:, :, None]
    image = np.concatenate([image, image, image], axis=2)
    detected_map = torch.from_numpy(image).float() / 255.0
    hint = detected_map.permute(2, 0, 1)
    return hint

depth_estimator = pipeline("depth-estimation")
hint = make_hint(img, depth_estimator).unsqueeze(0).half().to("cuda")
加载先前的管道和 [KandinskyV22ControlnetImg2ImgPipeline]:
py
prior_pipeline = KandinskyV22PriorEmb2EmbPipeline.from_pretrained(
    "kandinsky-community/kandinsky-2-2-prior", torch_dtype=torch.float16, use_safetensors=True
).to("cuda")

pipeline = KandinskyV22ControlnetImg2ImgPipeline.from_pretrained(
    "kandinsky-community/kandinsky-2-2-controlnet-depth", torch_dtype=torch.float16
).to("cuda")
将文本提示和初始图像传递给先验管道以生成图像嵌入:
py
prompt = "A robot, 4k photo"
negative_prior_prompt = "lowres, text, error, cropped, worst quality, low quality, jpeg artifacts, ugly, duplicate, morbid, mutilated, out of frame, extra fingers, mutated hands, poorly drawn hands, poorly drawn face, mutation, deformed, blurry, dehydrated, bad anatomy, bad proportions, extra limbs, cloned face, disfigured, gross proportions, malformed limbs, missing arms, missing legs, extra arms, extra legs, fused fingers, too many fingers, long neck, username, watermark, signature"

generator = torch.Generator(device="cuda").manual_seed(43)

img_emb = prior_pipeline(prompt=prompt, image=img, strength=0.85, generator=generator)
negative_emb = prior_pipeline(prompt=negative_prior_prompt, image=img, strength=1, generator=generator)
现在你可以运行 [KandinskyV22ControlnetImg2ImgPipeline] 从初始图像和图像嵌入生成新图像:
py
image = pipeline(image=img, strength=0.5, image_embeds=img_emb.image_embeds, negative_image_embeds=negative_emb.image_embeds, hint=hint, num_inference_steps=50, generator=generator, height=768, width=768).images[0]
make_image_grid([img.resize((512, 512)), image.resize((512, 512))], rows=1, cols=2)
优化
Kandinsky 独特之处在于它需要一个前置管道来生成映射,以及第二个管道将潜在变量解码为图像。优化工作应集中在第二个管道上,因为大部分计算都在这里完成。以下是一些在推理过程中改进 Kandinsky 的建议。
- 如果你使用的是 PyTorch < 2.0,请启用 xFormers:
diff
  from diffusers import DiffusionPipeline
  import torch

  pipe = DiffusionPipeline.from_pretrained("kandinsky-community/kandinsky-2-1", torch_dtype=torch.float16)
+ pipe.enable_xformers_memory_efficient_attention()- 如果你使用的是 PyTorch >= 2.0,启用
torch.compile以自动使用缩放点积注意力(SDPA):
diff
  pipe.unet.to(memory_format=torch.channels_last)
+ pipe.unet = torch.compile(pipe.unet, mode="reduce-overhead", fullgraph=True)
这与显式地将注意力处理器设置为使用 [~models.attention_processor.AttnAddedKVProcessor2_0] 是相同的:
py
from diffusers.models.attention_processor import AttnAddedKVProcessor2_0

pipe.unet.set_attn_processor(AttnAddedKVProcessor2_0())- 使用 [
~KandinskyPriorPipeline.enable_model_cpu_offload] 将模型卸载到 CPU 以避免内存不足错误:
diff
  from diffusers import DiffusionPipeline
  import torch

  pipe = DiffusionPipeline.from_pretrained("kandinsky-community/kandinsky-2-1", torch_dtype=torch.float16)
+ pipe.enable_model_cpu_offload()- 默认情况下,文本到图像的管道使用 [
DDIMScheduler],但你可以将其替换为其他调度器,例如 [DDPMScheduler],以查看这对推理速度和图像质量之间的权衡有何影响:
py
from diffusers import DDPMScheduler
from diffusers import DiffusionPipeline

scheduler = DDPMScheduler.from_pretrained("kandinsky-community/kandinsky-2-1", subfolder="ddpm_scheduler")
pipe = DiffusionPipeline.from_pretrained("kandinsky-community/kandinsky-2-1", scheduler=scheduler, torch_dtype=torch.float16, use_safetensors=True).to("cuda")